 Dutch Girl Corner Shelf Jig Saw Project – Free Jig Saw Pattern
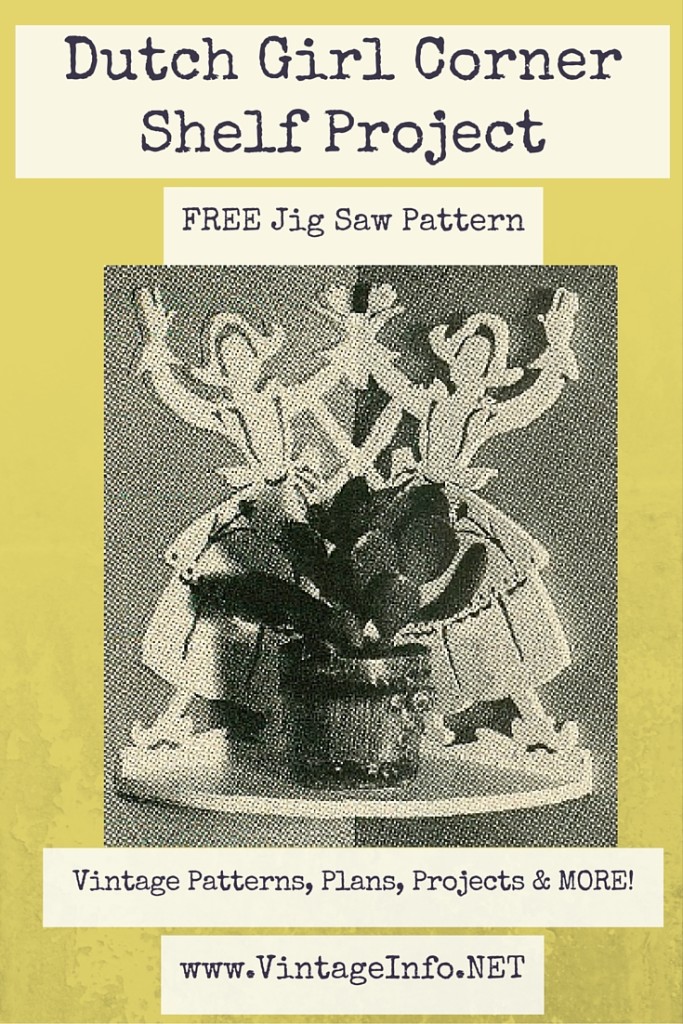
Odd pieces of bric-a-brac or small potted plants can be displayed to advantage by providing an individual shelf to hold them. The photograph shows such a small corner shelf with two dancing Dutch girls.
Tweet About This Jig Saw Pattern
The figures of the girls will require 3/16″ plywood, one piece being 5 5/8″ x 9 1/4″ and the other 5 7/16″ x 9 1/4″. Because of the grain direction shown in Fig. 2, the shelf will require a piece of 1/4″ stock 5 1/2″ x 8″.

Check out this book of “Fun & Easy Scroll Saw Projects” on Amazon. Click the image for more info!
A full-size pattern of the Dutch girl will have to be prepared from the graph-squared drawing on a sheet of paper 5 5/8″ x 9 1/4″ divided into 1/2″ squares.
The full-size pattern is glued to the 5 5/8″ x 9 1/4″ piece of plywood; then the smaller piece (5 7/16″ x 9 1/4″) is placed under the one to which the pattern has been applied. As noted in Fig. 1, the 3/16″ difference between the two pieces is at the inner edge to allow for the butting of the figures when they are assembled.
Since both figures are identical, the two pieces are fastened together temporarily with several 1/2″ brads placed within areas that are to be removed. To avoid the need of excessive sanding, the jig saw should be provided with a fine-toothed blade. All pierced sections will require the boring of small holes to permit the jigsaw blade to be passed through.
The decorative small circles bordering the apron on the figures are holes bored as indicated. All pierced sections should be cut first on the jig saw. The outer contour should be left for the final sawing.

The shelf shown in Fig. 2 is laid out by using a T-bevel or miter square to lay out the angles and a compass to draw the arc. The shelf is cut to shape on the jigsaw and the outer edge sandpapered.
Sign up for our free Newsletter to get more free Projects, Patterns and Plans + discounts too! Click HERE to Sign Up

Assembling the bracket will require the fastening together of the two figures with glue and 3/4″ No. 20 brads as shown in the photograph. The shelf is fastened to the side members in the same manner.


The completed work can best be finished with a spray gun using white lacquer. Should the finishing be done by brushing, apply a coat of flat white; then, when dry, apply a coat of semi-gloss enamel.
Please note: Posts may contain affiliate links for products we have used or researched. If you purchase a product through an affiliate link, your cost will be the same and Vintage Info Network will automatically receive a small referral fee. Your support helps to fund this website. Thank you.Now over to you…
What do you think of this jig saw project? Are you going to make it?
Share in the comments below.
